Rendering is like photography but it is all done via a computer. You take a 3D model and you add lighting, lay out the scene and produce an image. Knowing how to render is a useful skill to have to an aspiring game artist as it shows your 3D model/scene in it’s full potential which is good for portfolio work. there are many different ways one could render an image but we learnt how to do it in AutoDesk Maya.
In this workshop, we learnt how to make basic solid materials using ‘Arnold Materials’. The reason why we want to use arnold materials rather than a lambert, is because arnold materials reflect light. We also learn how to use a sky-dome which is used to light up a whole scene.
Diffuse and Specular
We first downloaded a file that would give us a pre-made scene in Maya. This scene provided us with shader balls and a sky-dome.
I added a material for the first shader ball and decided to make it a shiny silver.
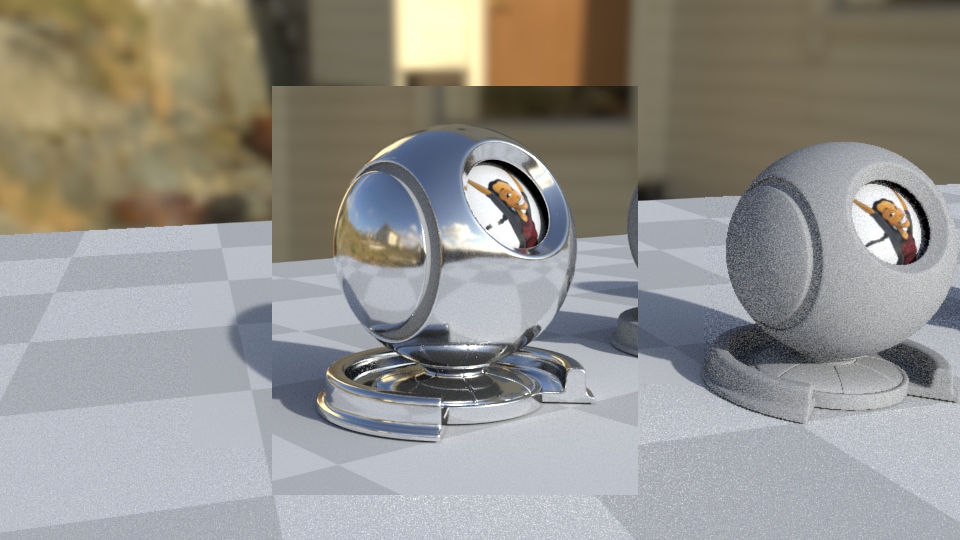
To do this, I object selected each part of the model that I wanted to set a material to and gave it a new material. The material I gave it was known as an “aistandardsurface” which, is an arnold material. I then went to the attribute editor and started adjusting the sliders for “base” and “specular” to get that metal look.

Adjusting the weight slider in base is similar to changing the saturation of an image in photoshop, the lower you make the weight the darker the material will get and this is also true for when you adjust the slider for color as well. If you want to change the colour of the material then, you simply need click the color box next to “color” and change it to whatever you want. adjusting the “Diffuse Roughness” rough up the colour. Lastly in base, there is a metalness slider. Adjusting this will effect the material’s ability to reflect it’s environment.
To make the metal material appear more shiny I then needed to play around with the specular. Specular effects the colour of the light that bounces off of the material. By default this colour should be set to white but you can change the colour that best suits your material. For example if you were to make a gold material, then it would make sense to change the specular colour to yellow as gold would reflect yellowish light. Adjusting the weight in specular will change the intensity of the light that is bouncing off of the material. Roughness is important as it controls the materials effectiveness in reflecting light. If you want a matte effect for your metal, then increasing the roughness should grant you that effect. lastly, Anistropy stretches out the reflection and the rotation rotates the reflection.
This is a really good way of making quick and simple materials but I don’t like how I have to go on Arnold Renderview just to see the texture. Also I still don’t quite know what IOR does and also, I don’t know what to use anistropy or rotation for. Maybe, there’s a material that requires me to adjust these sliders but right now I have no idea what to use them for.
Transmission
The transmission sliders in the attribute editor is used for making transparent materials.

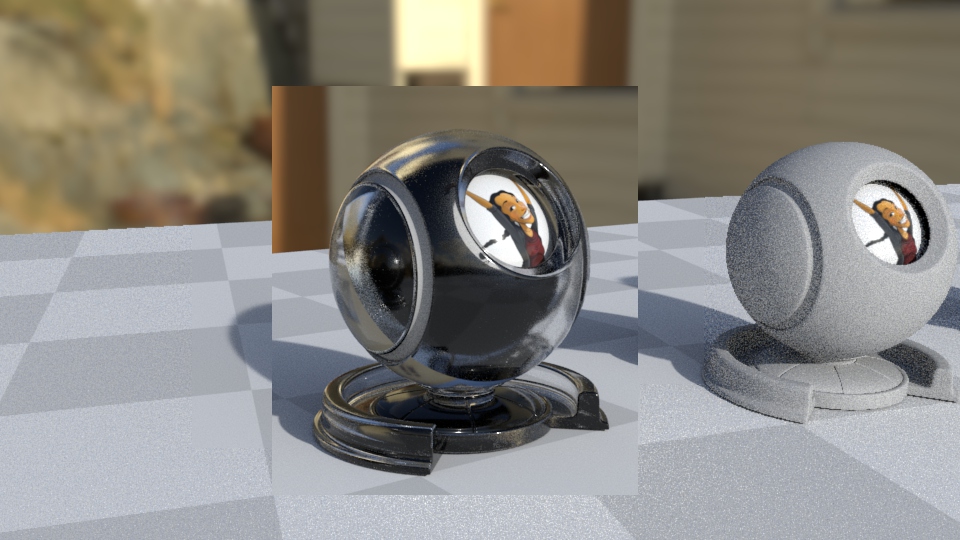
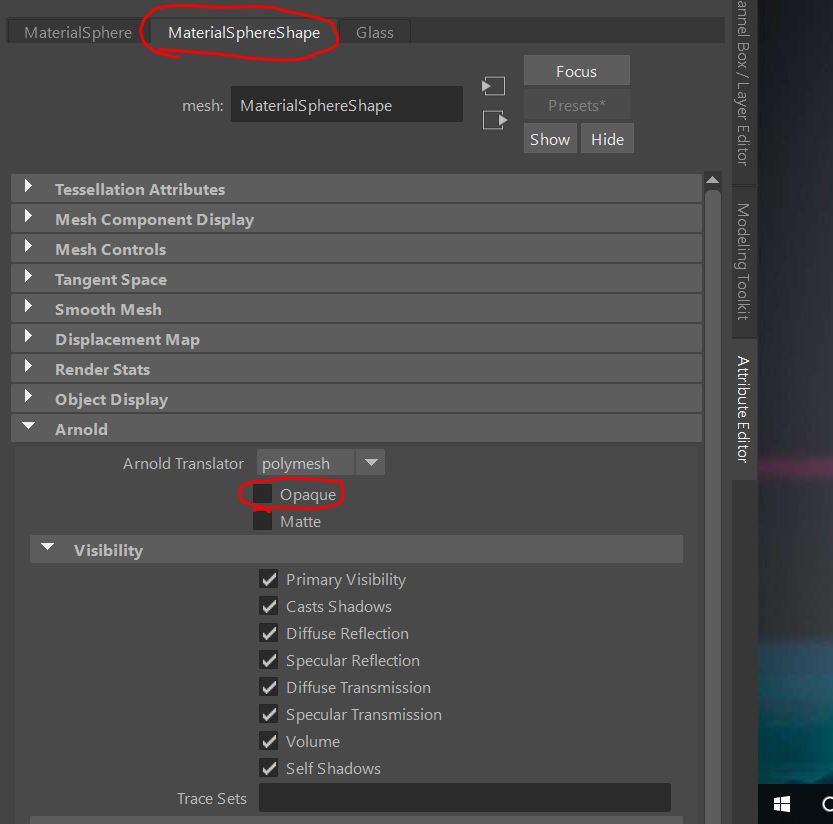
By setting the weight to 1 in transmission I was able to make the material semi-transparent. The reason why I say “semi-transparent” is because you can notice that you can’t see the texture inside the sphere as it only appears like a dark shadow. To make this fully transparent, you first need to select the object and go on attribute editor and untick opaque in attribute shape. I needed to do this for each object for the asset.
.This is what the material looks like now:
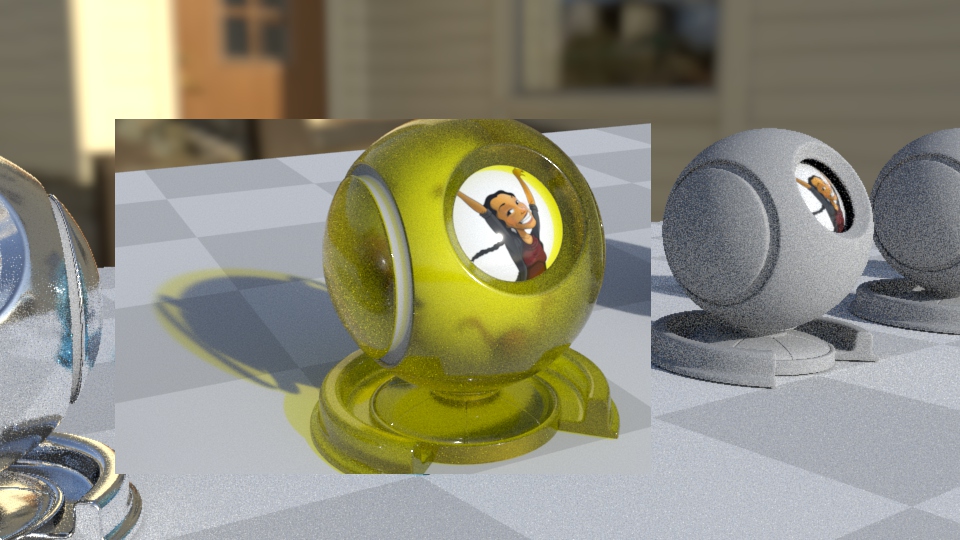
You may notice that light can pass through the material and you can now see the texture underneath. I also did other things to get this look.

Firstly, I changed the color to orange just to make the material look more interesting. Then I adjusted the depth which controls how much light goes through the object and scatter I believe controls the light that bounces back from the inside of the object. You can also change the colour of this light. Finally, I adjusted the “Extra Roughness” slider which gives the material some micro geometry making it appear rougher.
I like this as it is a quick and easy way for you to make a glass or a plastic texture. I also love how arnold shaders changes the colour of the shadow produced by the material since it is translucent. However, it is very difficult seeing the effect of each slider since I don’t have a powerful cpu to quickly render the image.
Presets
Arnold also has presets for us to use. You can find presets in the attribute editor right next to where you change the name of the material.
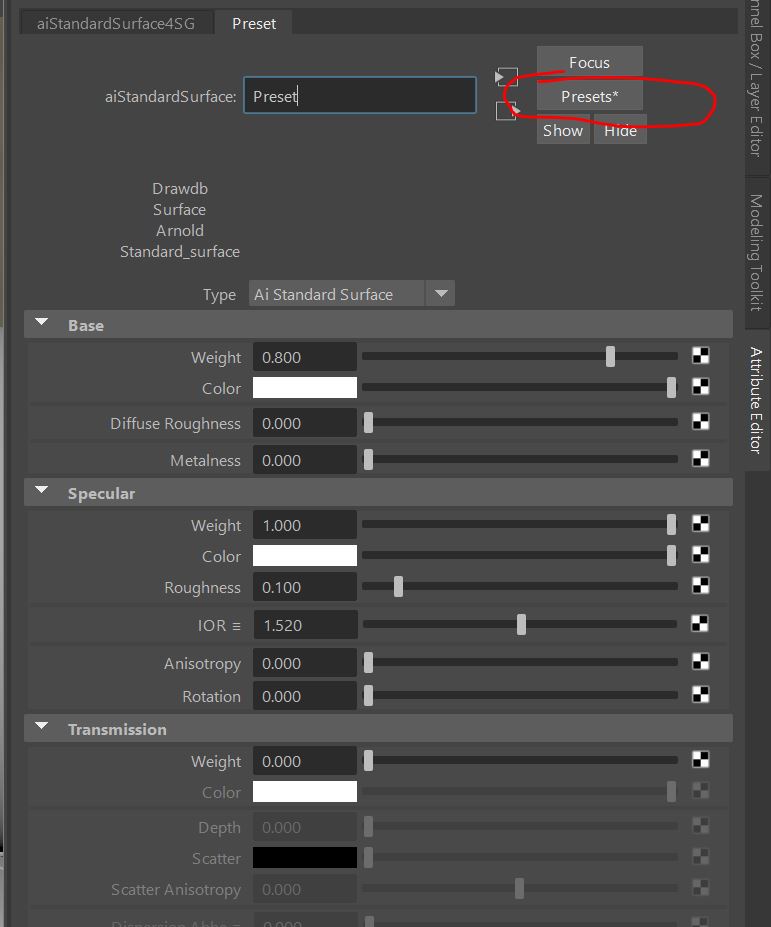
This is good for getting a material quickly since you wouldn’t have to wait for your PC to render to get the right look.
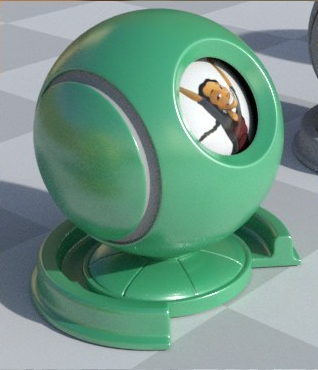
This is a jade preset that arnold provides for us. There are other presets such as other metals, paints, liquids, glass and many more.
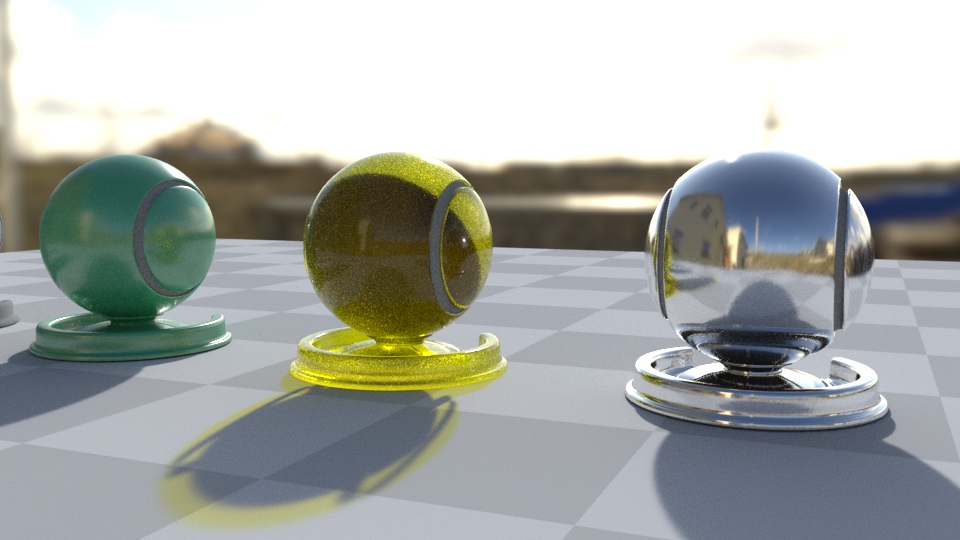
These are all the materials I made and rendered:
Sky-dome
The scene in this workshop utilises a sky-dome that simulates light in an environment. You can add a Arnold sky-dome light by going to the Arnold tab, lights and then the sky-dome option.

This light source will only work with HDRI map which is short for High Dynamic Range Image. This is a high quality panoramic image that can act like light sources. These maps can be downloaded online like in Textures.com and can be plugged into the colour tab of the attribute editor for the sky-dome.
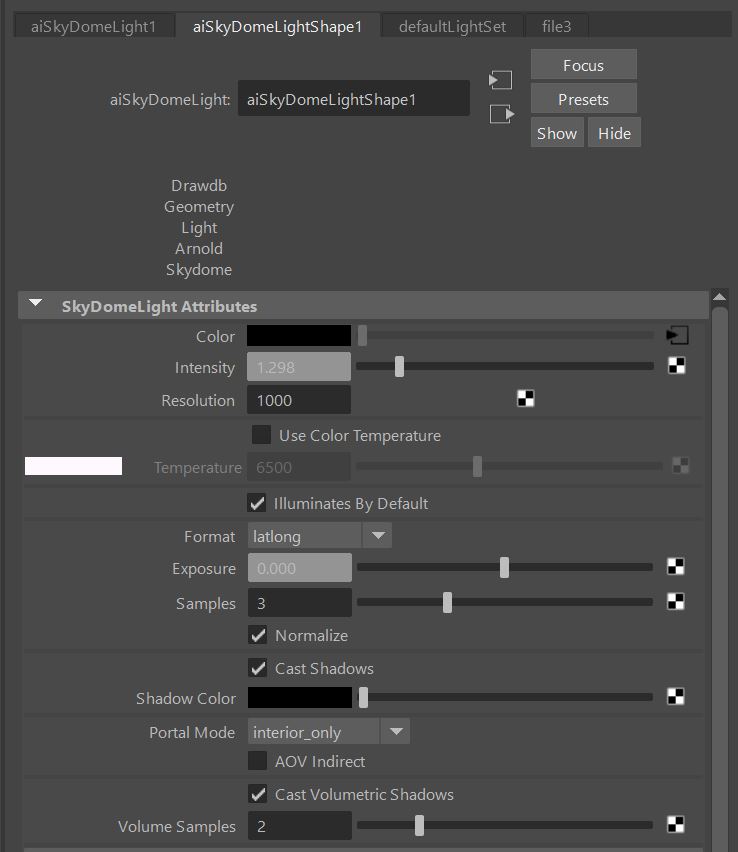
You can turn up the intensity and exposure which basically makes the image brighter. Intensity controls brightness of the light and exposure controls how it effects the scene. Lastly samples adds the amount of light rays in the scene but can add be very expensive to render.
In conclusion I found this workshop very useful as it taught me another method for rendering images. I love how Arnold does almost all of the work for you but I really don’t like how slow it takes to render out an image. To be honest, I still prefer to render images in Unreal Engine even though it’s more manual than arnold, I like how quick and easy it is to create an image. There also the option to just show a high quality render in sketchfab for singular assets.
